
Proxmark 3 RDv4 Setup
Introduction
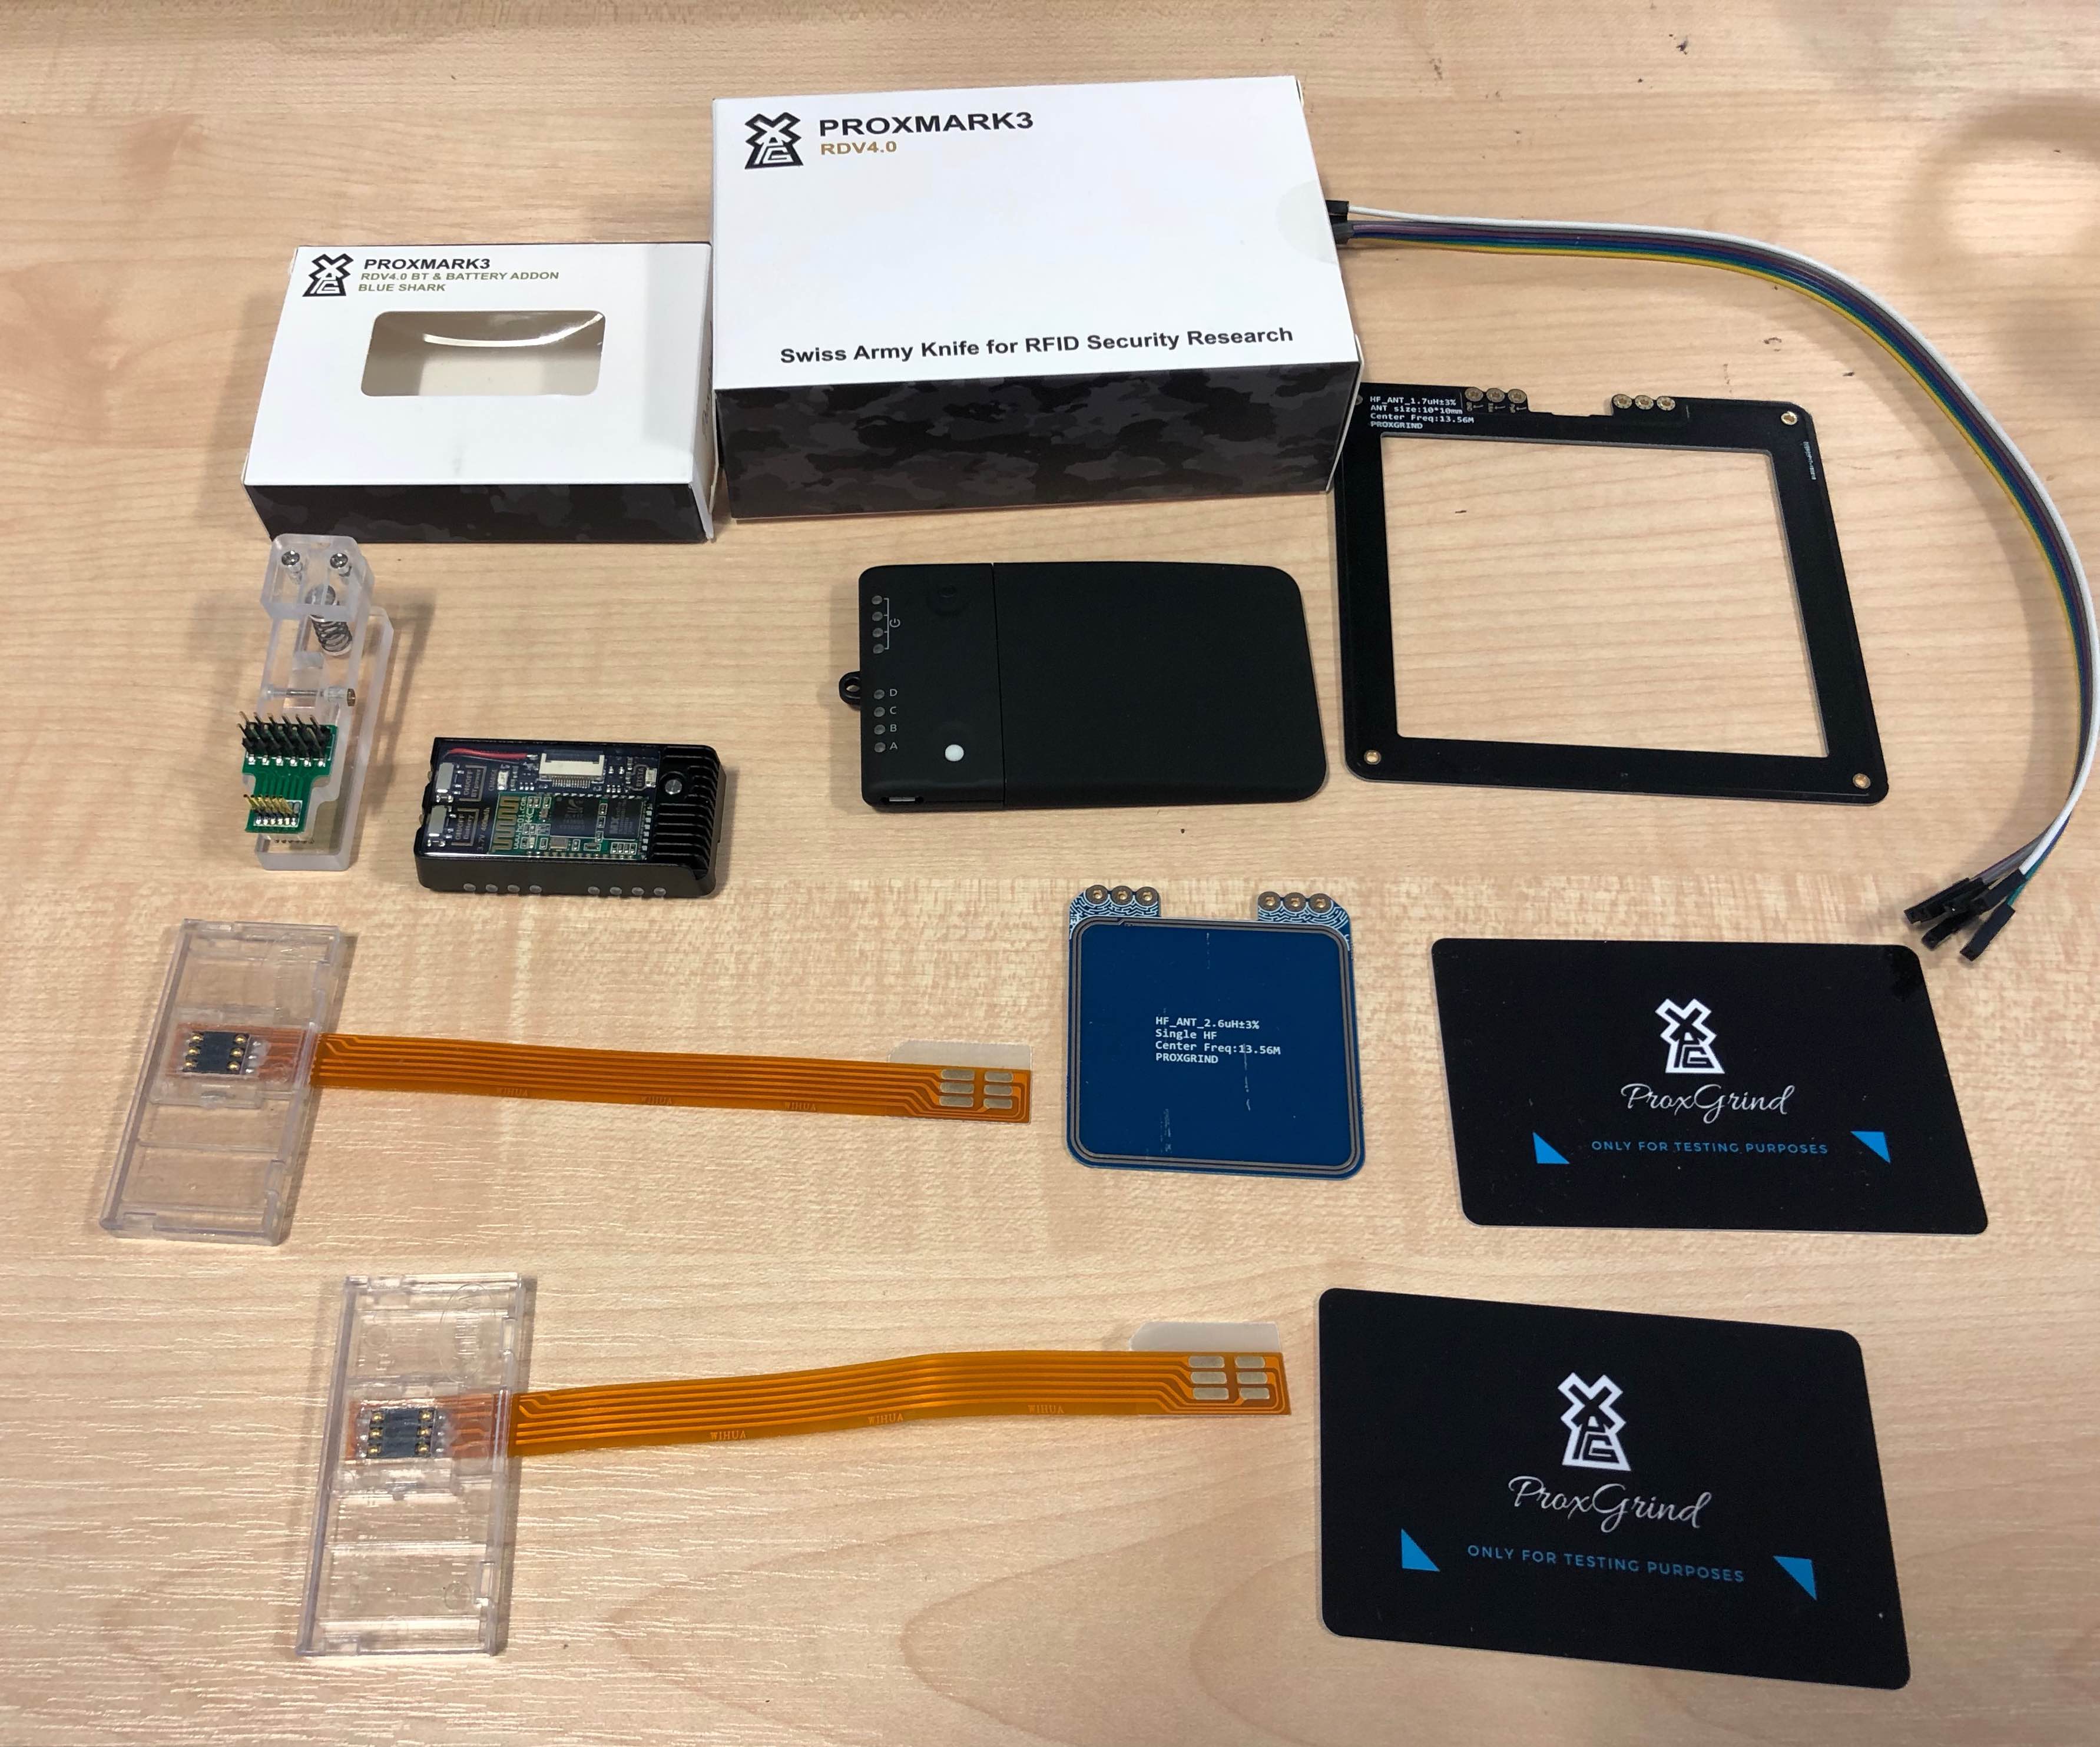
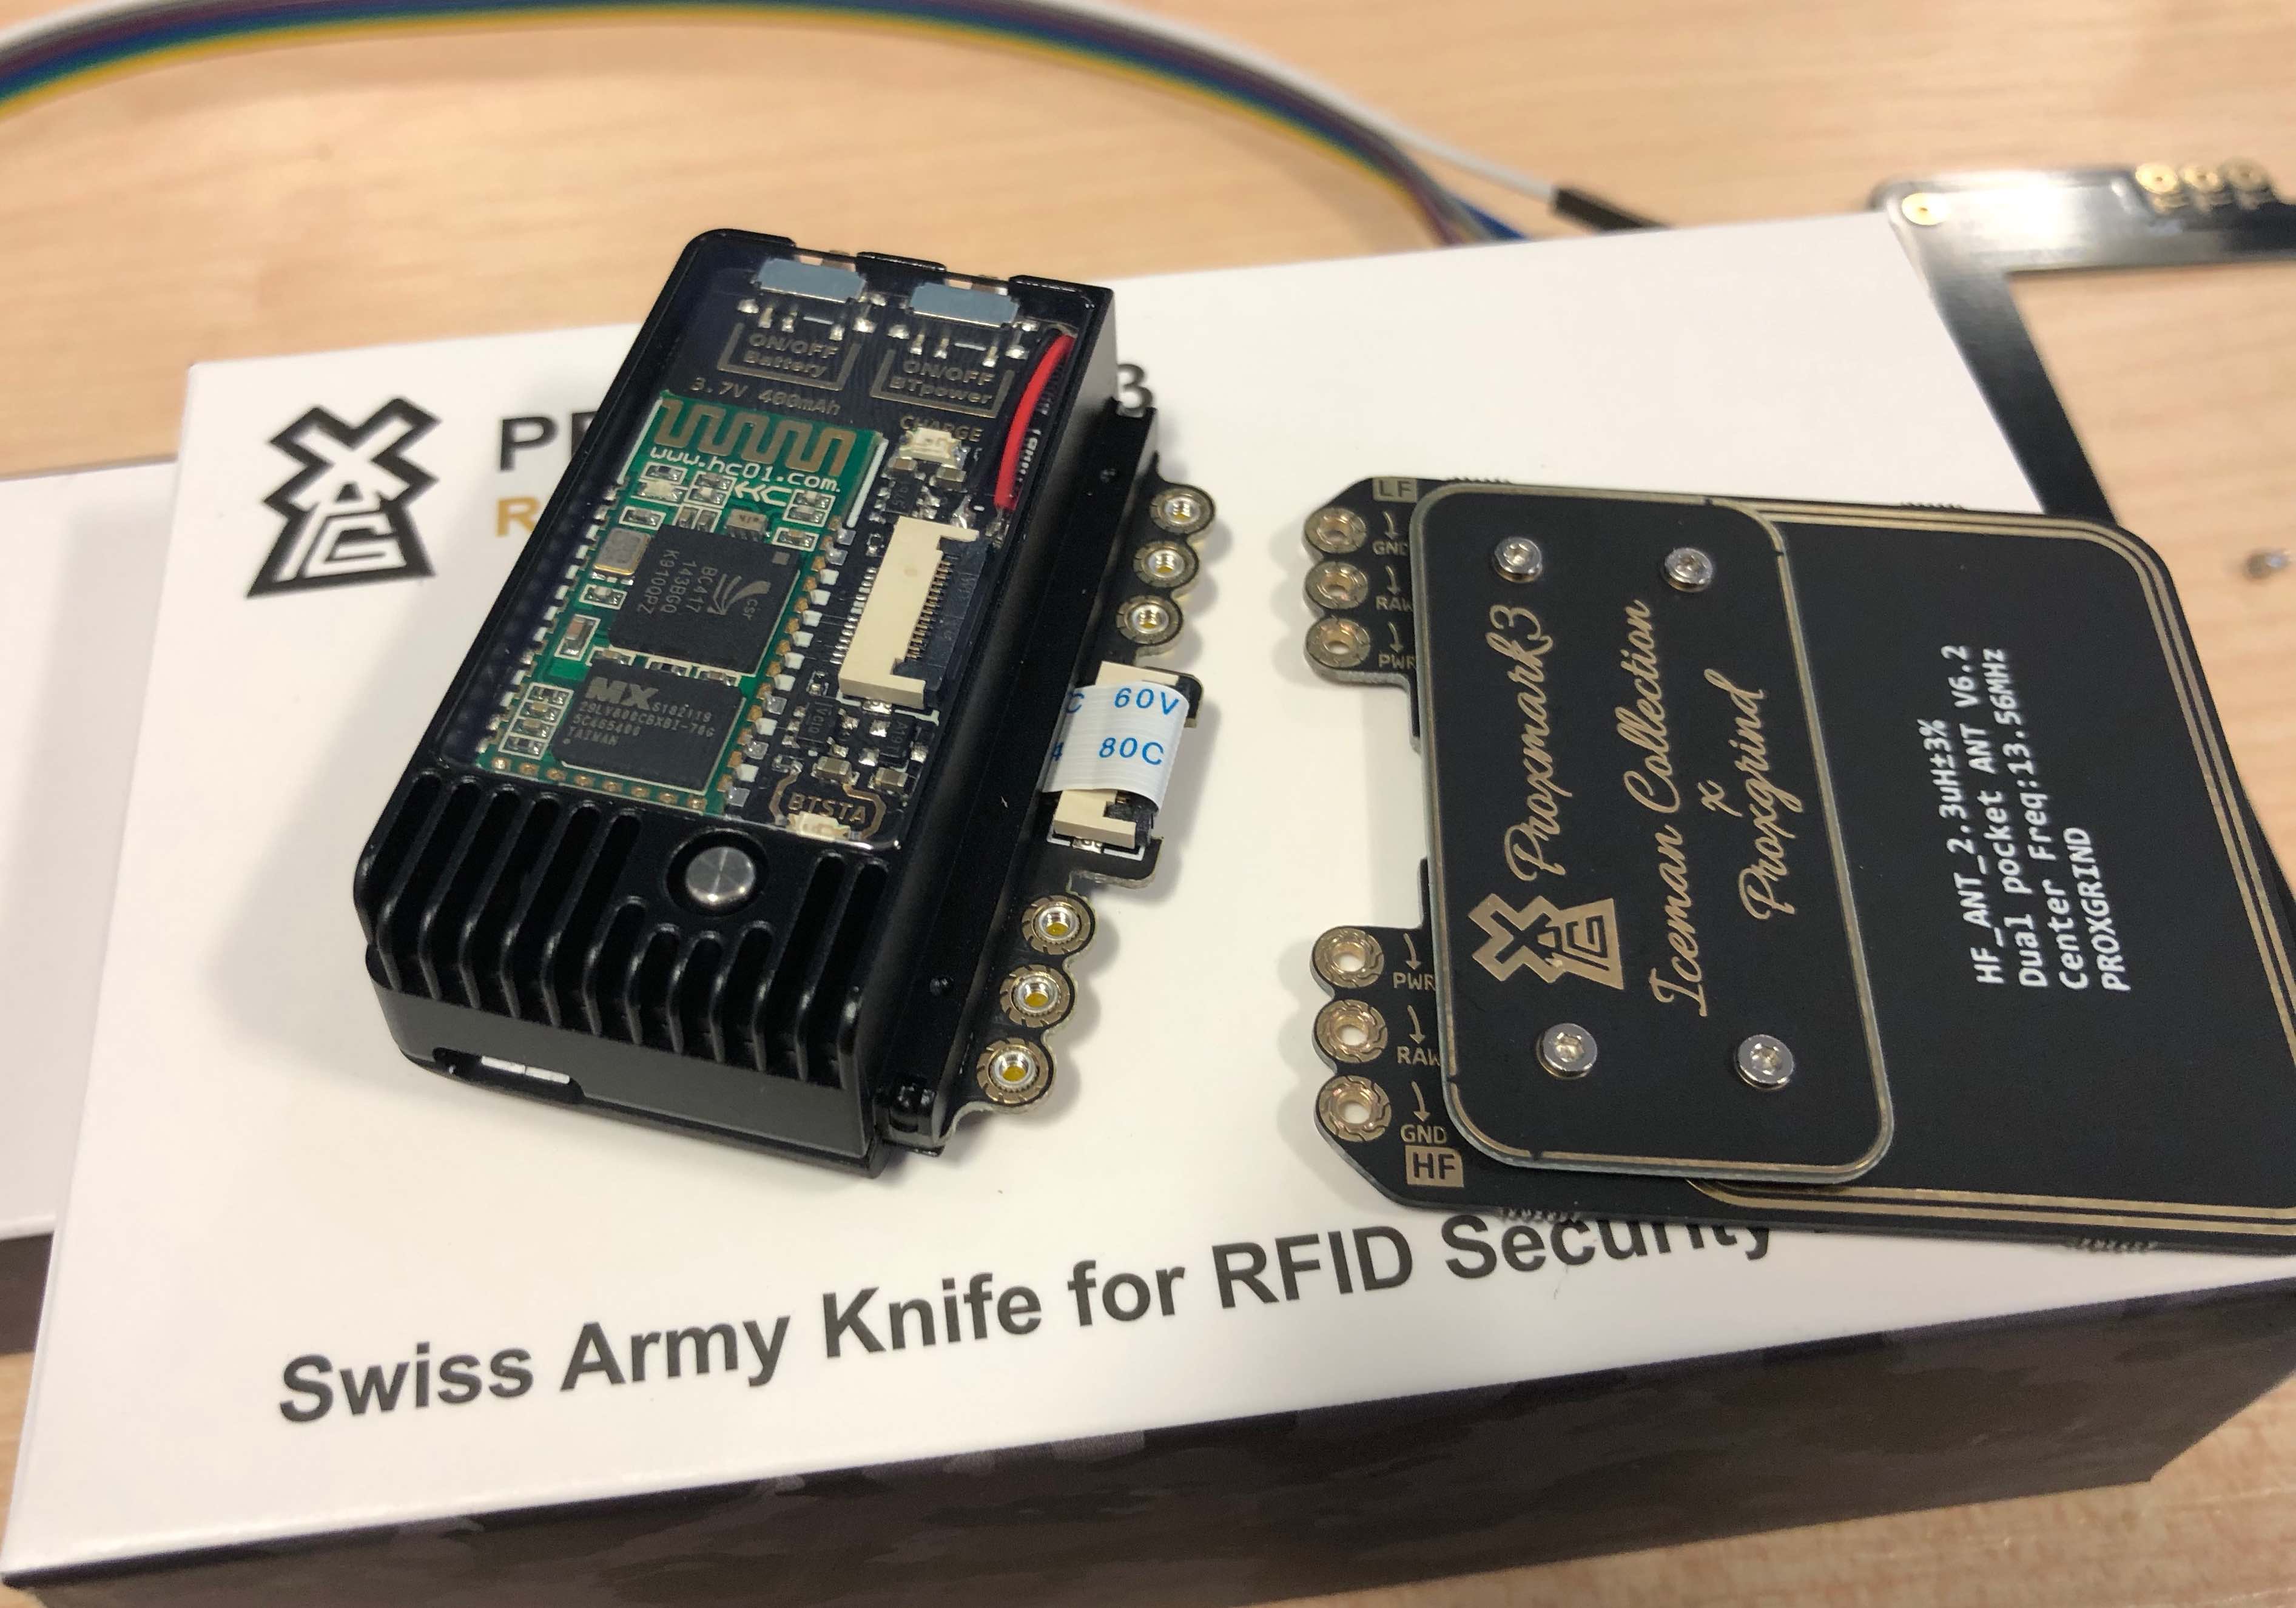
The Proxmark3 Dev Kit 4 (RDV4) from RRG/ProxGrind is more compact/portable and brings various improvements to the open source design. Antennas are highly customizable and there is a new multifunction multiplexing interface to support additional components such as external battery, external active high powered antenna, bluetooth interfaces and more. The new model replaces RDV3 (aka PM3 Easy), RDV2, and the original PM3 design.
Grab yours now at KSEC !
Proxmark RDV4 Complete Kit
We’ve got a full list of specs and product info. We’ve purchased the RDV4 Complete kit and have the following components.
How To Setup
Before starting:
- Ensure all cables are removed from your Proxmark Device
- Ensure the power is turned off on the Standalone Module
Setup Standalone Module
- Remove the plastic cases from your Proxmark device. This is easier if you use an opening tool.
Removable larger shell
Top part of the ‘button shell’
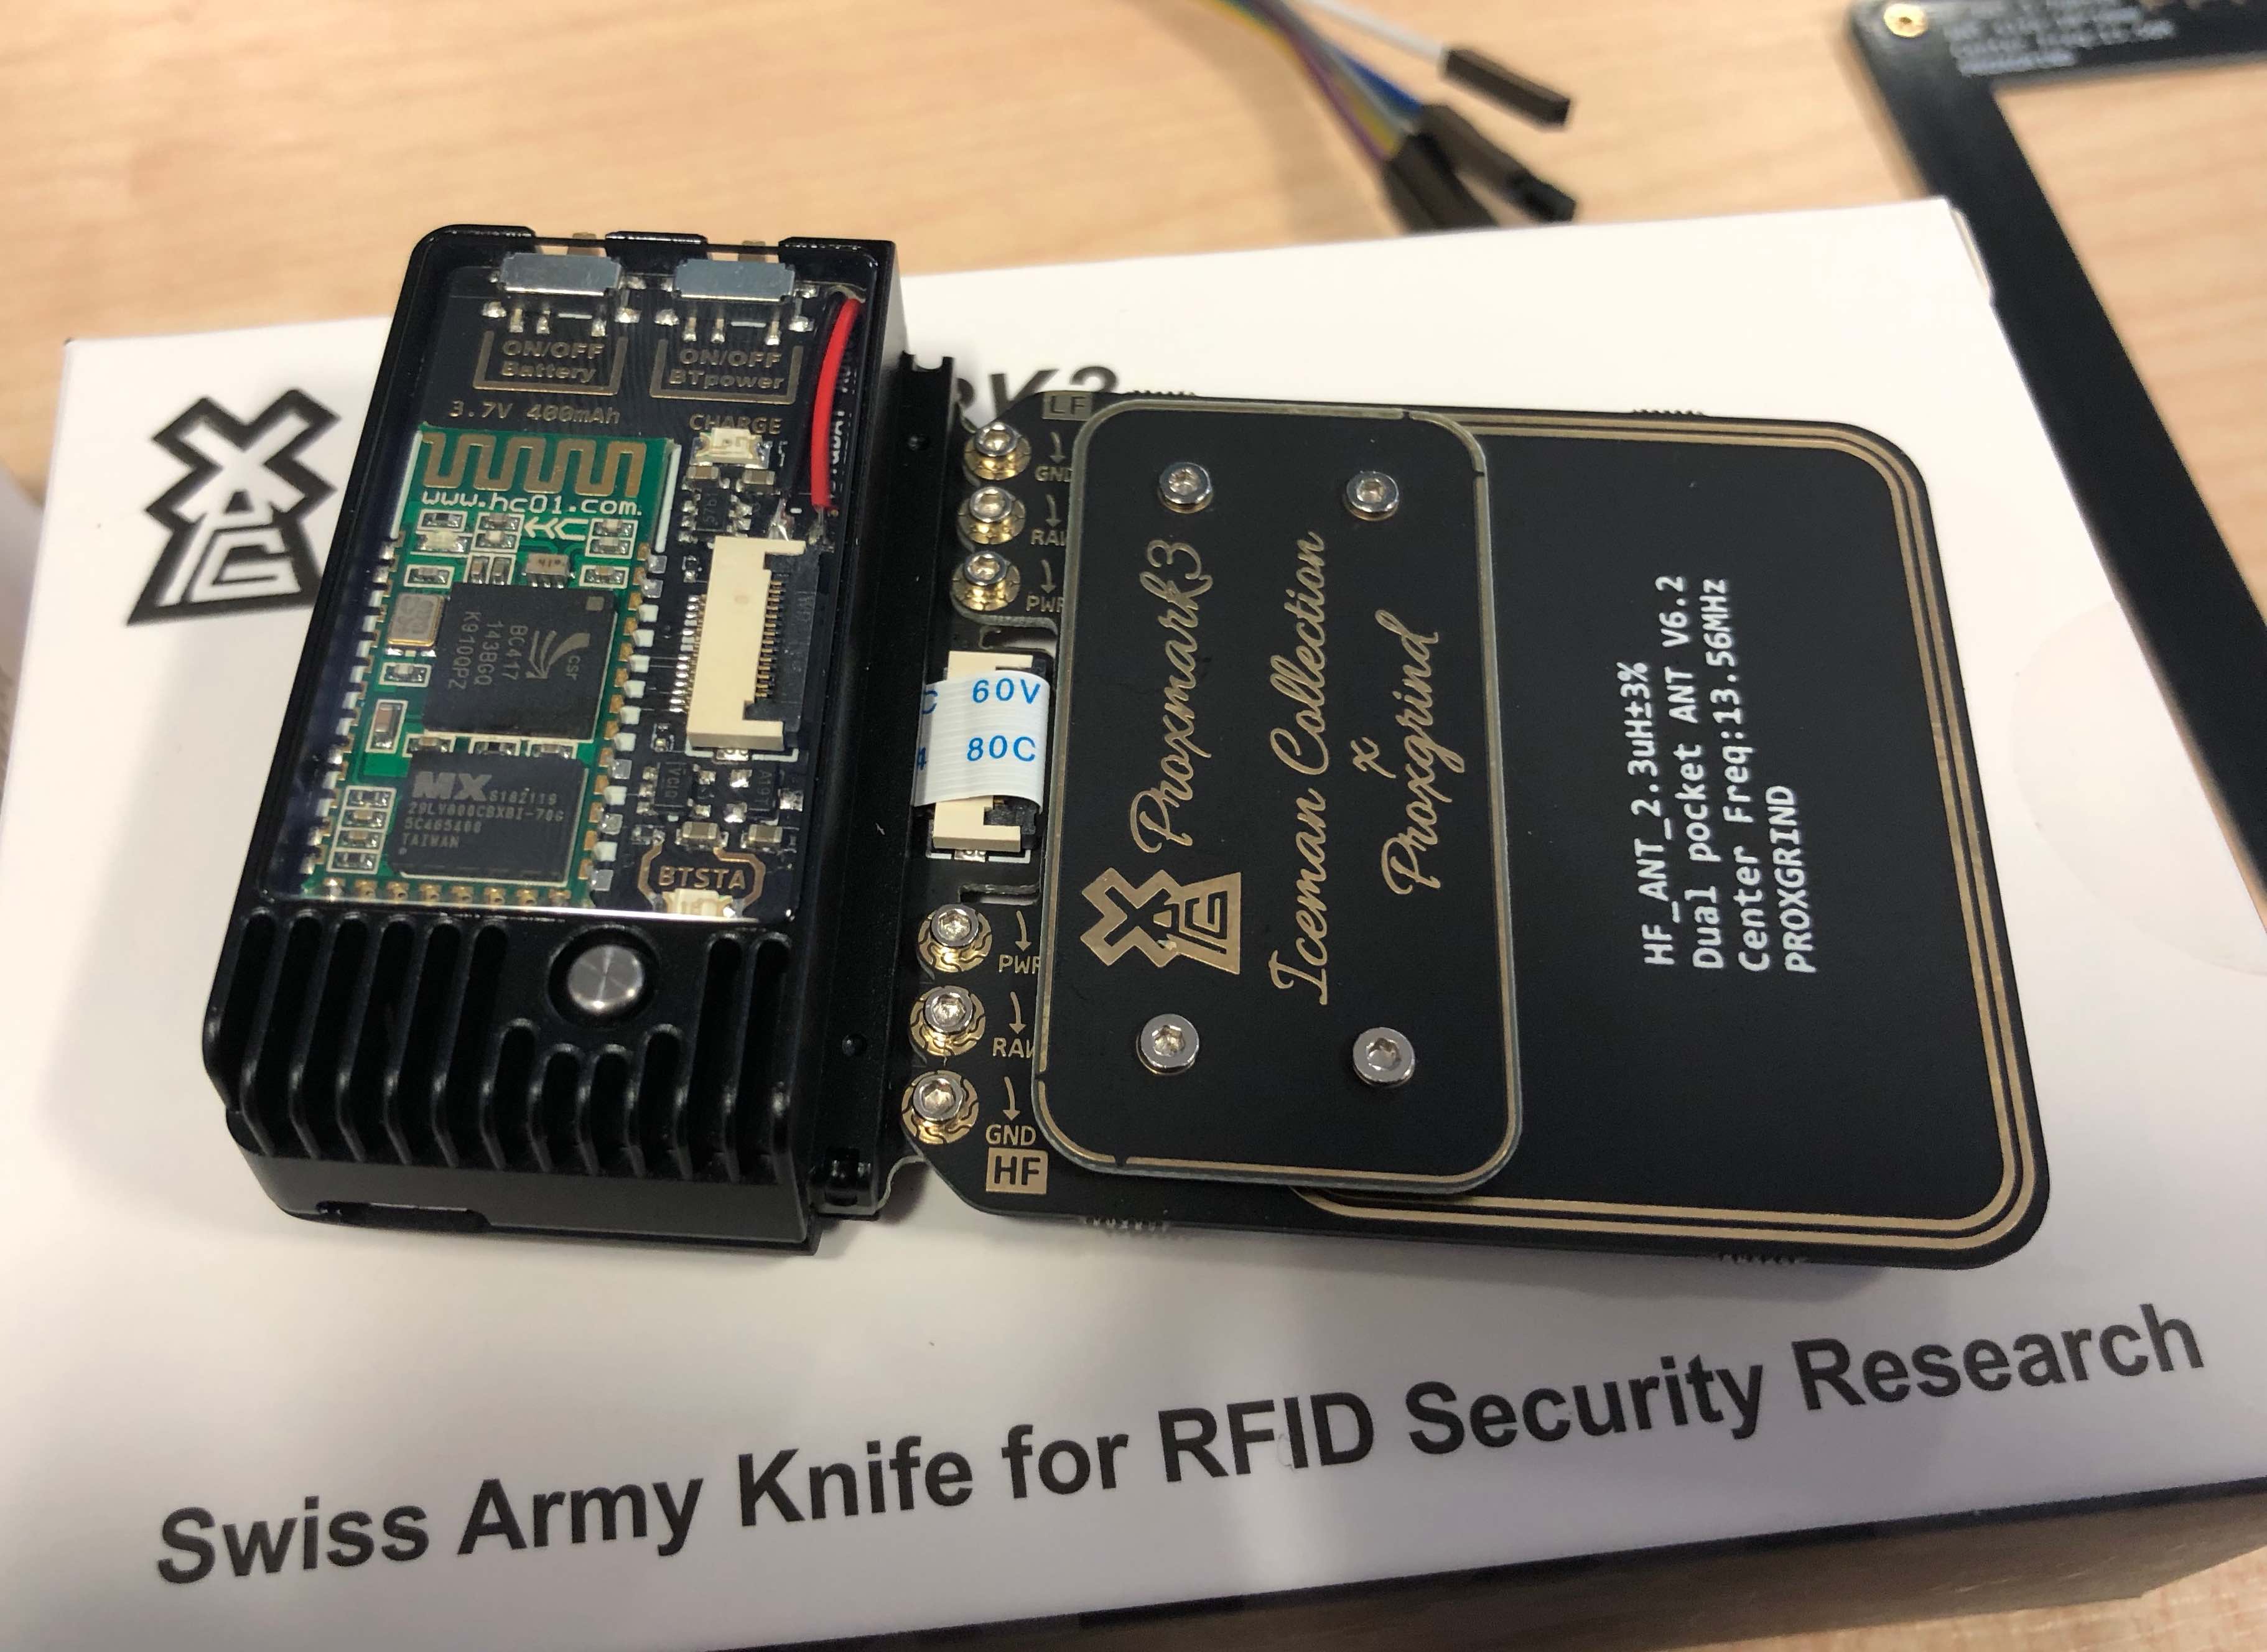
- Using the provided screwdriver, remove the antenna board to expose the FPC interface.
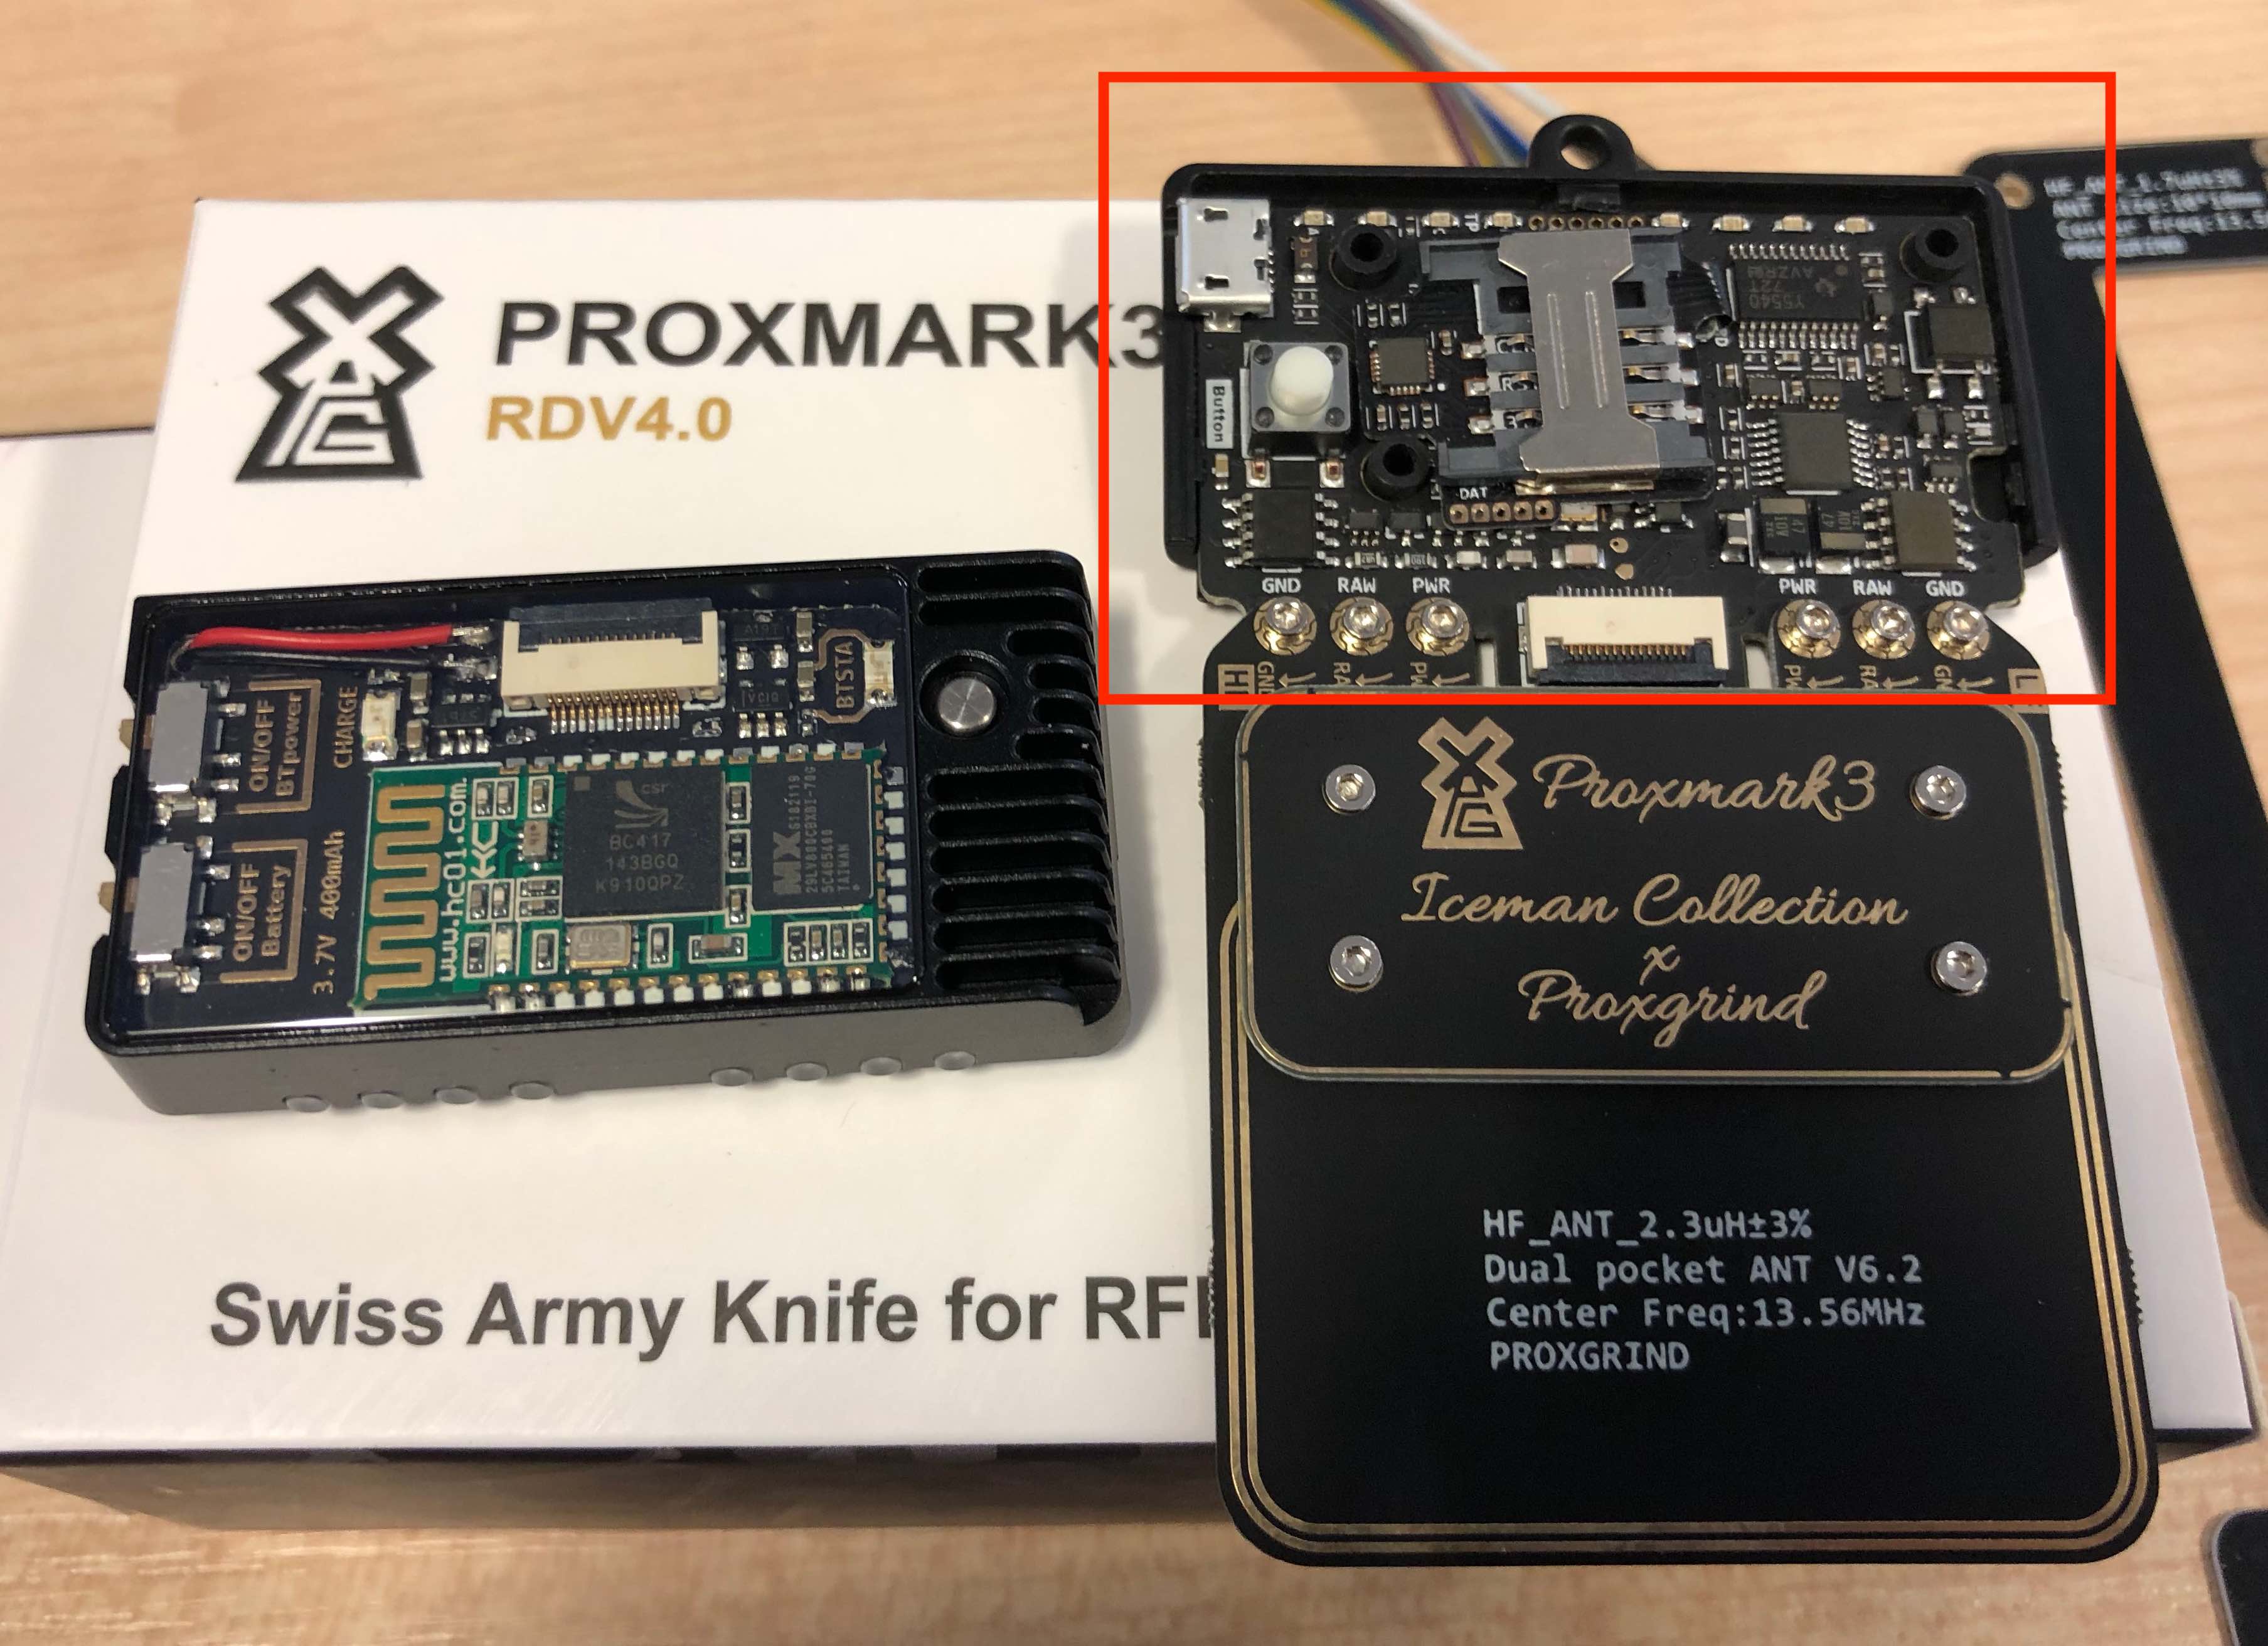
2A - Take the Standalone module, turn it over.
2B - Insert the FPC wire into the FPC connector.
IMPORTANT: Lock the FPC Connector
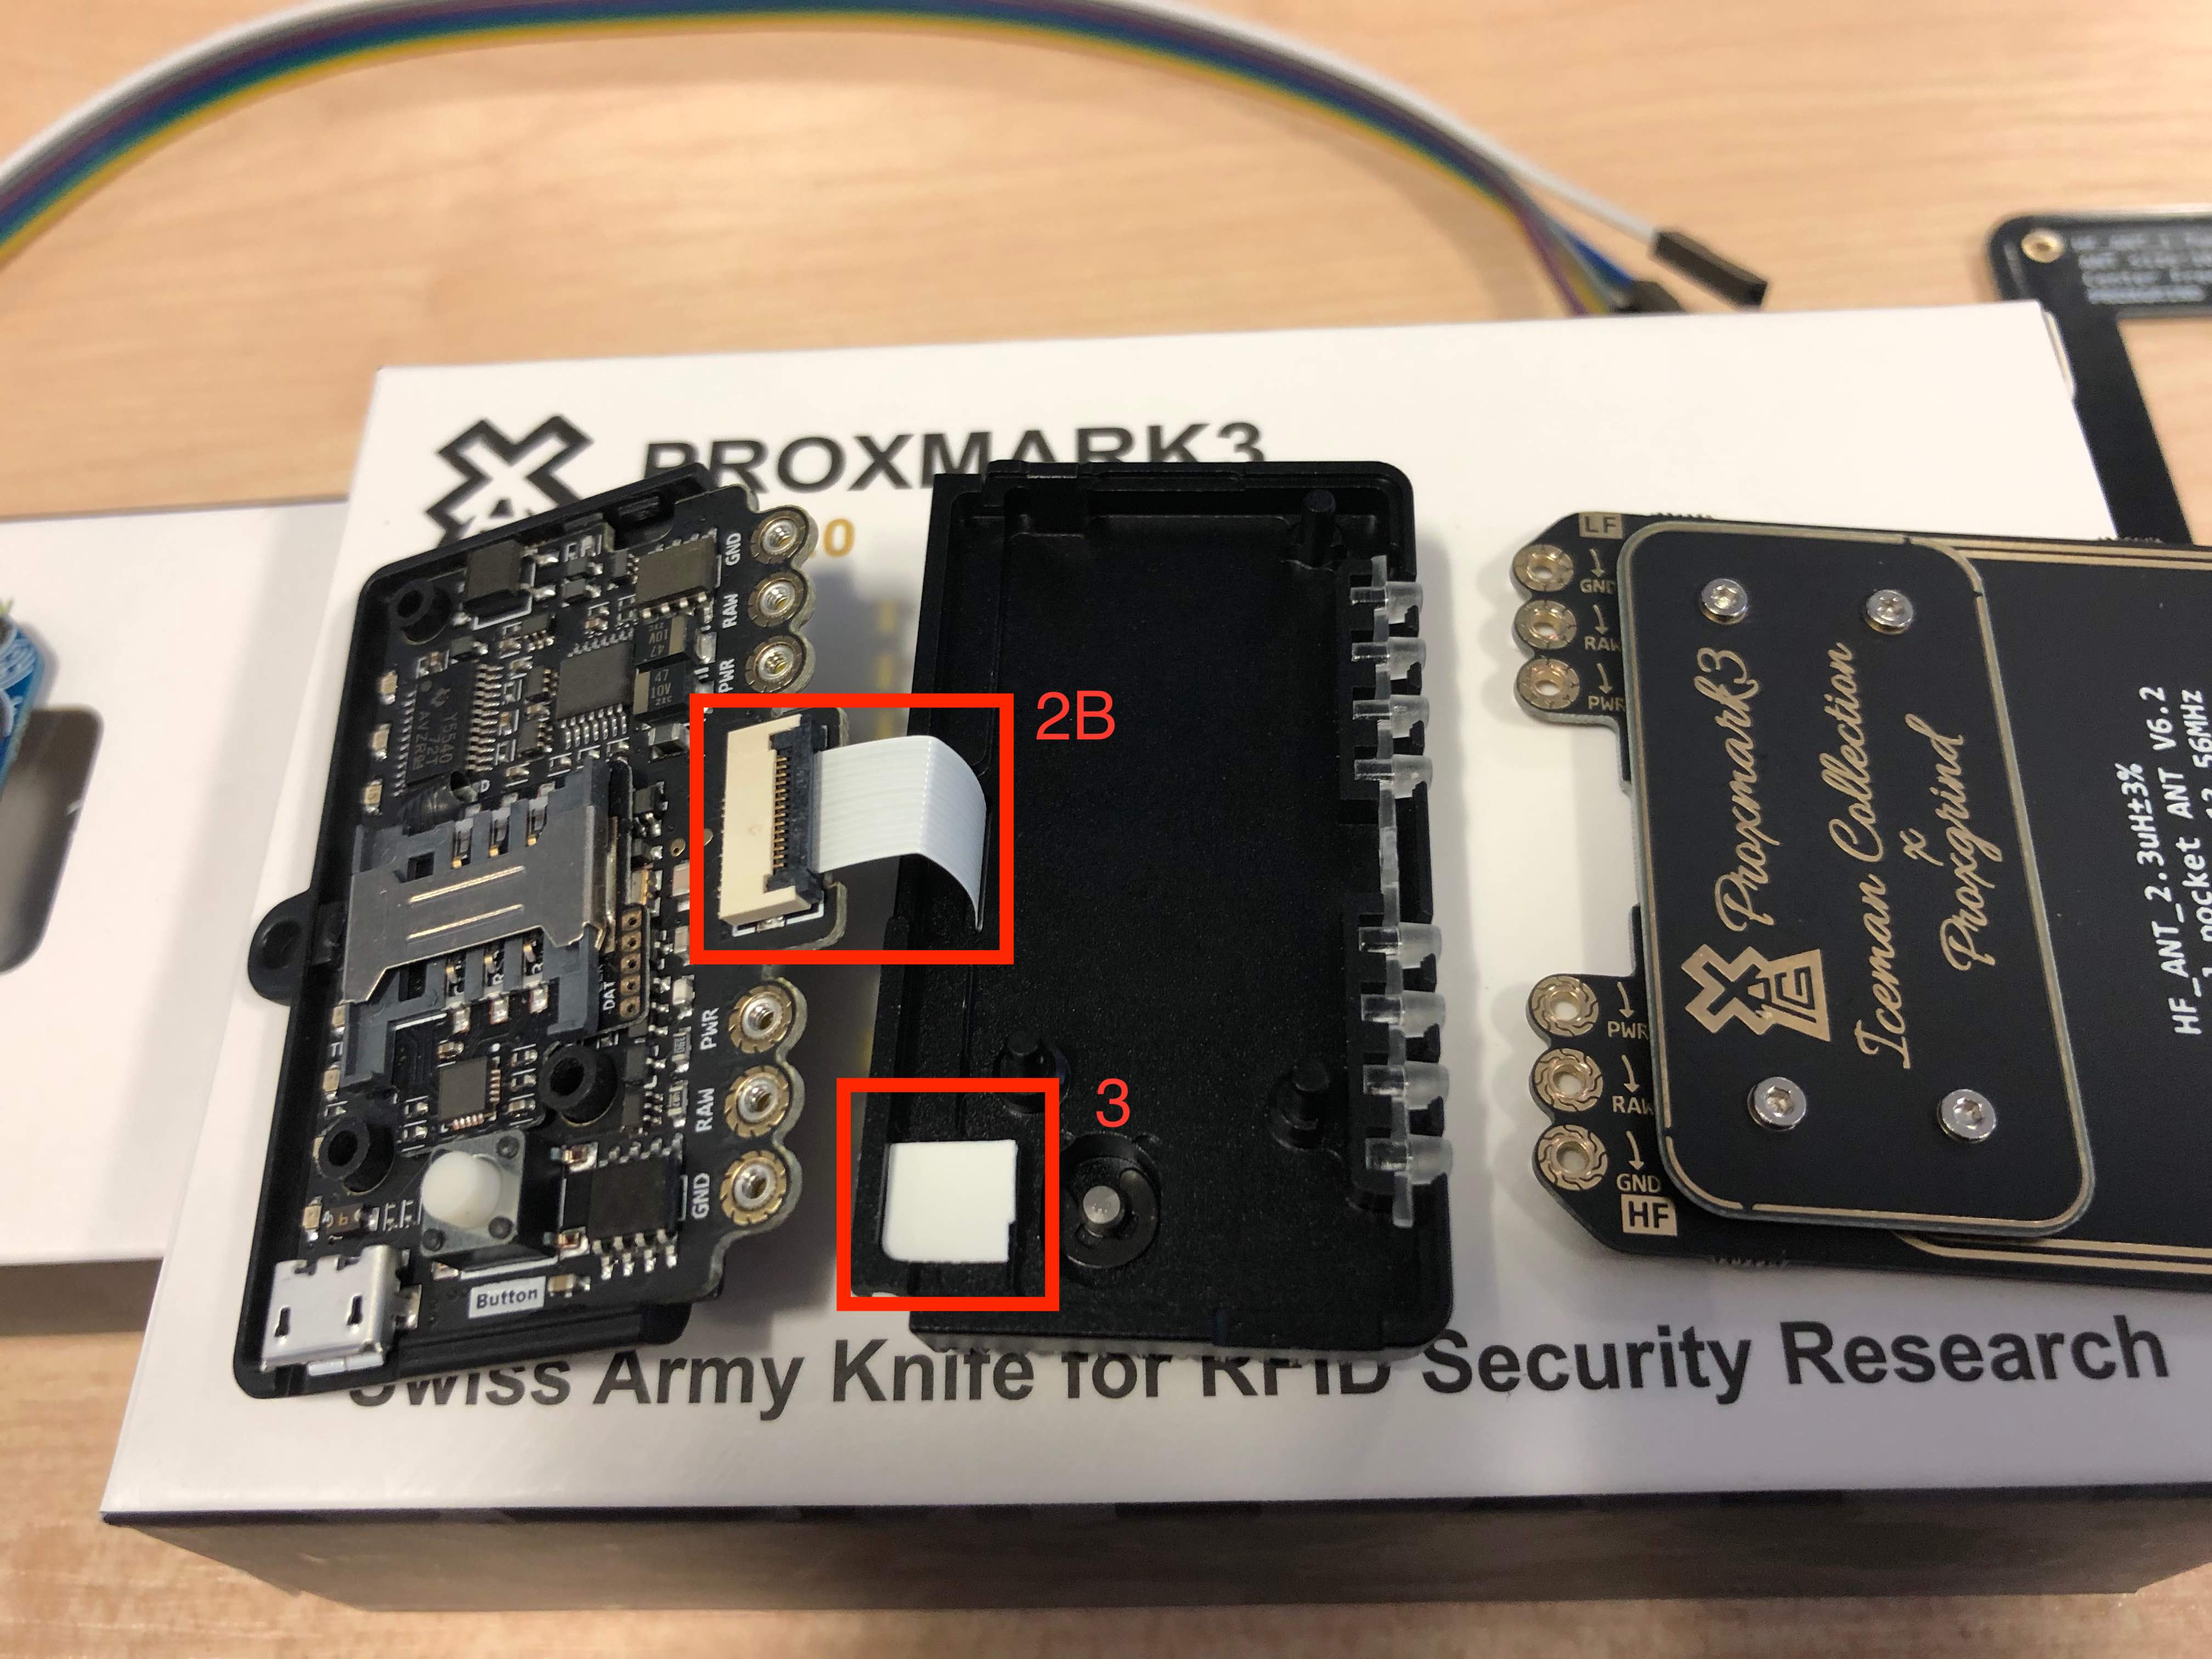
Remove the double-sized tape off the heat-conductor
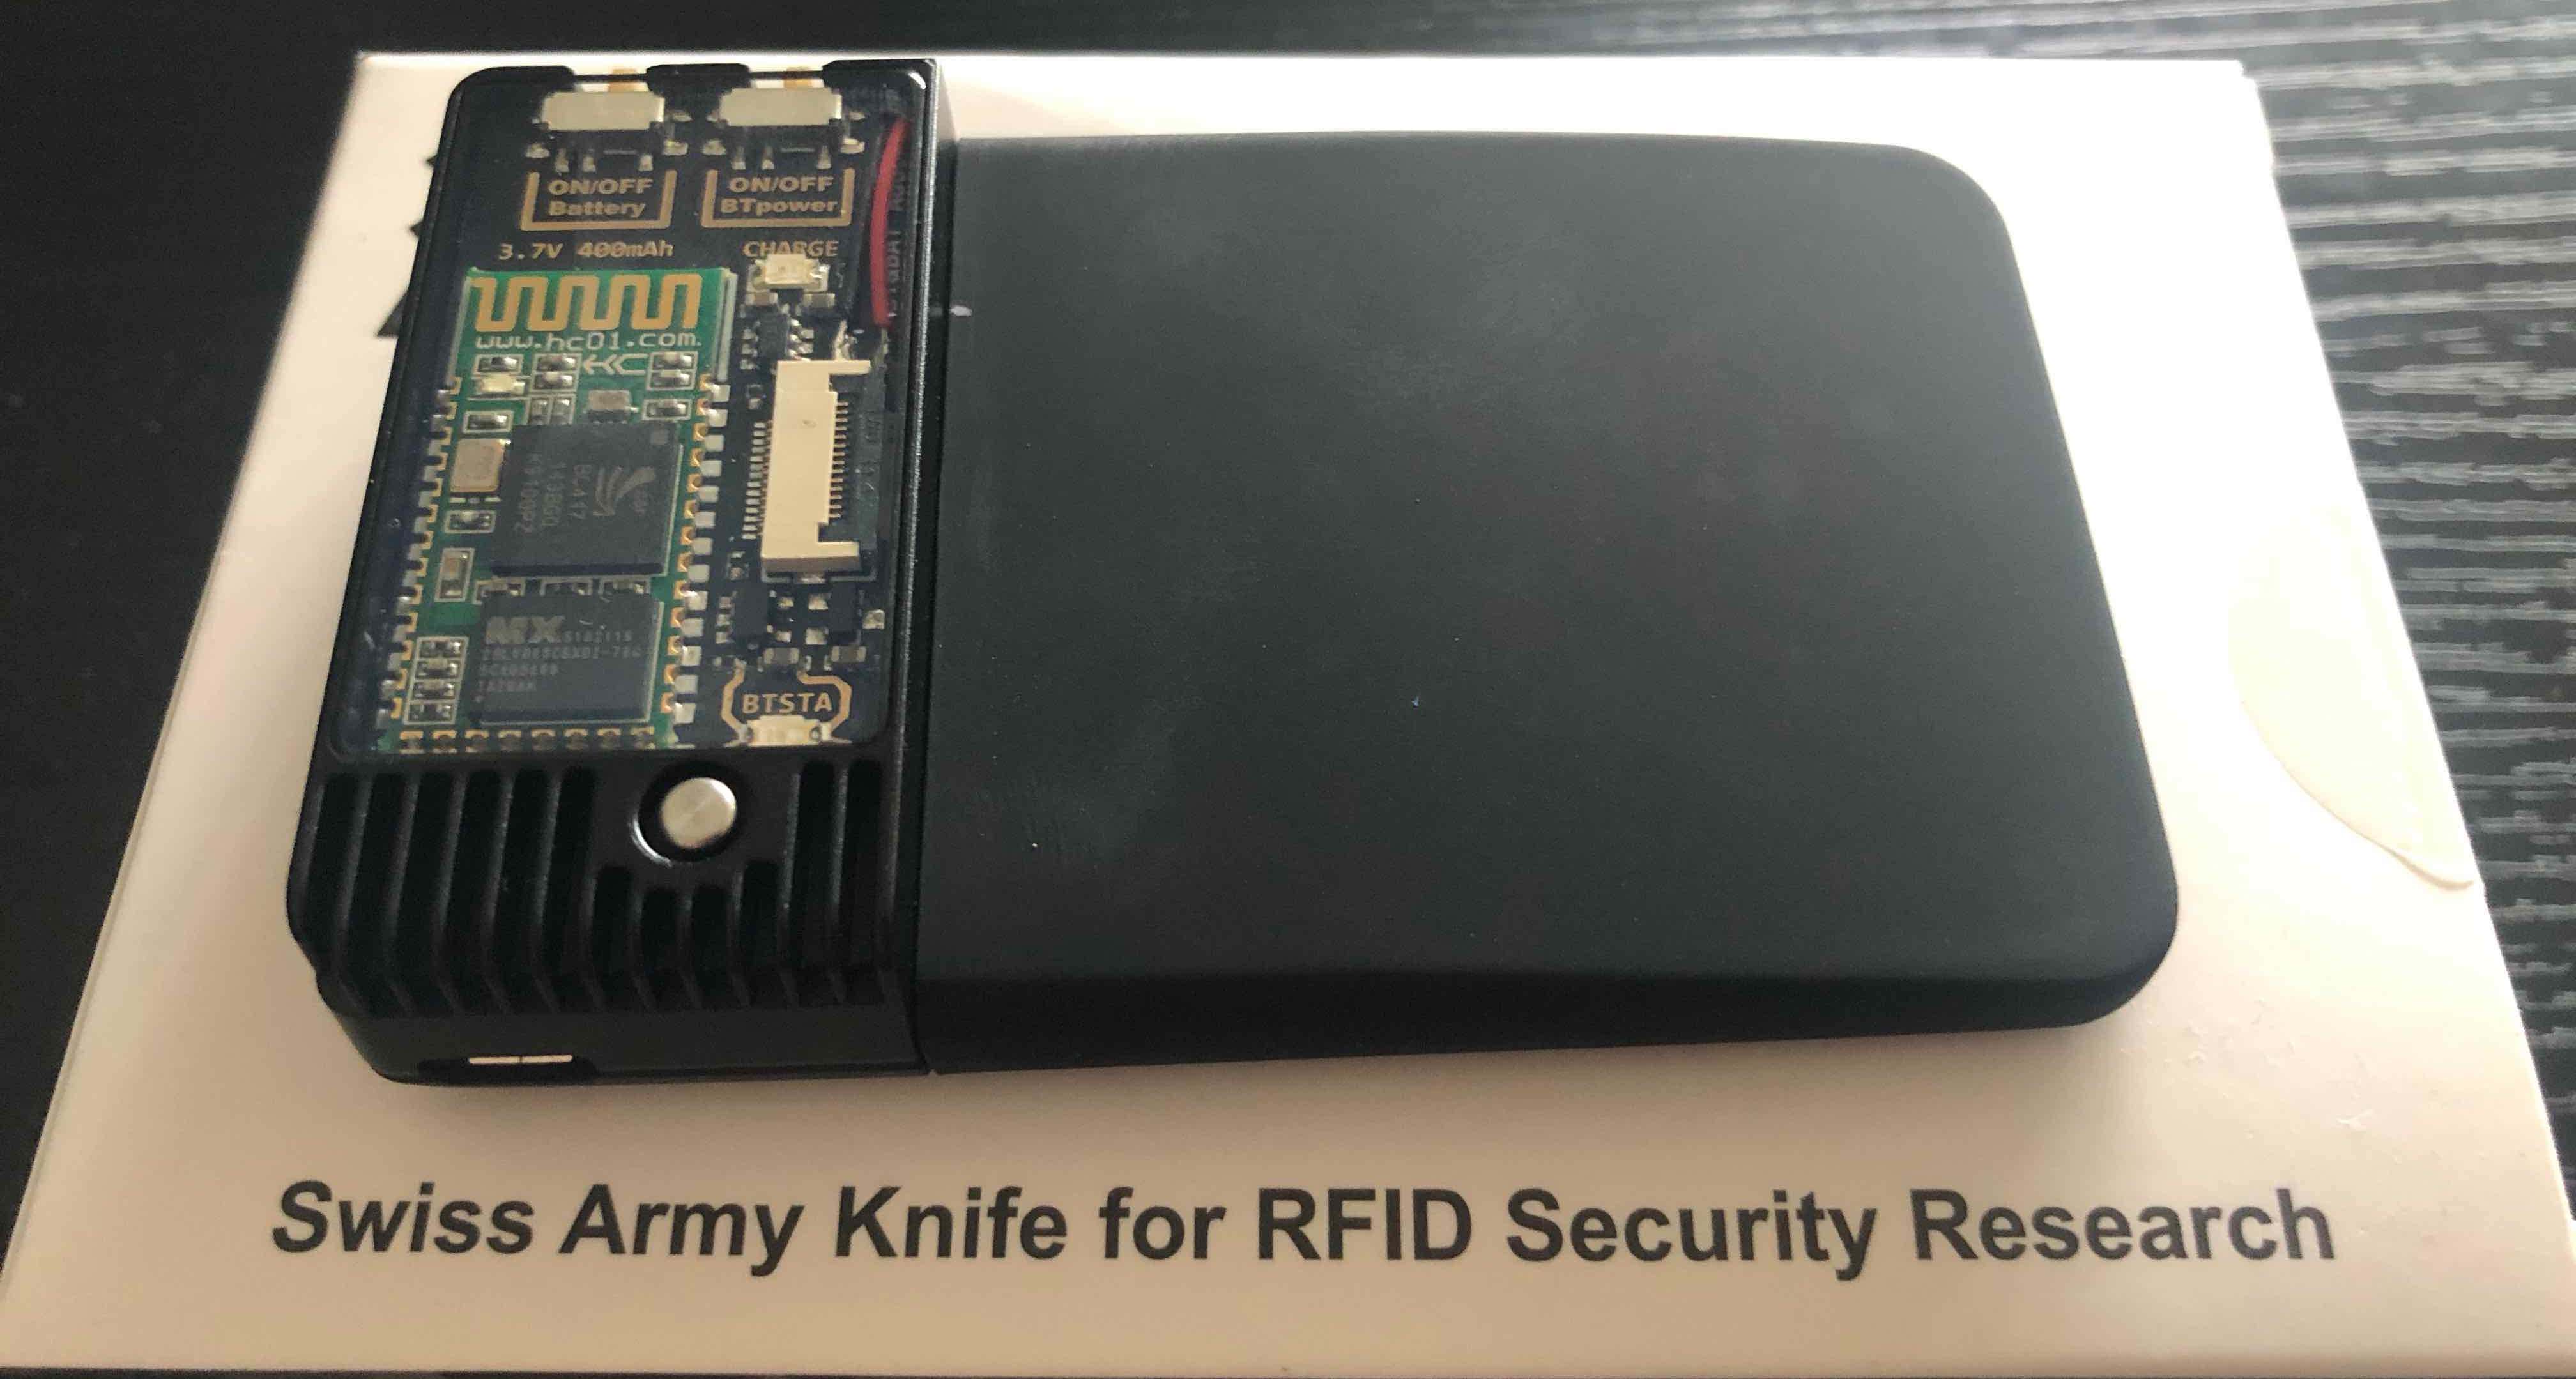
Turn the standalone module up the right way
Align the hole positions, and gently insert it onto the Proxmark circuit
Align the antenna boards, and replace the screws
Replace the antenna cover and the initial setup is complete !
Connect Via Bluetooth
- Battery On/Off switch.This allows you to power your Proxmark from its battery - you no longer need to have the device plugged in.When the device is plugged in, it will automatically charge.
- Bluetooth On/Off switchEnables / disables the Bluetooth interface
- Bluetooth IndicatorIndicates when Bluetooth is activatedBlinking Light: BT is activated but not connected.Solid Light: BT is connected.
Recent Posts
Tags
Categories
Active directory Burpsuite Cheatsheet Crackmapexec Empire Events Exploit File transfer Iis Implants Kcsec Kerberos Kernelpop Ksec Ksec snapshot Lab Metasploit Metasploitable Msfvenom Netcat Nfc & rfid Nikto Nmap Pivoting Privilege escalation Proxmark Proxychains Redteam Responder Rubber ducky Shells Sqlmap Sshutle Thefatrat Toolkit Webapp Windows domain Xss